I’ve been streaming with increasing regularity over the past month or two. I’ve also increased my viewing, watching others to look for ideas and inspiration. As I’ve built and tinkered with my own streaming tech setup, I’ve begun to learn the craft a bit more and find out what does and doesn’t work.
I quickly ran into the limitations of the basic “whatever I had lying around” approach I started with. Since it seems like this is an interest that isn’t going anywhere I decided to make some upgrades to our streaming tech and setup. If you’ve been watching over the past weeks, you have no doubt noticed the changes as they trickled in.
The first thing I did was upgrade the software for the stream itself. I had OBS and started with a screen capture of a game with a webcam view of myself and the room laid over it in the corner. I reworked that, changed to Streamlabs OBS, added in proper alerts, chat boxes, a viewer count, and some basic overlay graphics (Friendship Drive Charging!). Those changes gave the channel the first touch of personality. It was rough, but I could now throw up a poll, or share a video, or do the basic kinds of engagement streamers do beyond just reading chat and talking with viewers.
I changed from using my old webcam’s echo-laden, serviceable-but-not-great mic to my old Sound Blaster World of Warcraft gaming headset. That has a surprisingly decent mic in it and good sound in a bulky, unattractive pair of cans. I learned how to apply filters to the mic to properly noise gate sounds, reduce background noise, and minimize the clacking of my incredibly loud, incredibly awesome mechanical keyboard. That thing is never going away, so if you don’t like it, I apologize.
The new mic plus proper software settings made a night and day difference in how I sounded. Since most of the content in a stream is actually listening to the streamer talk, I wanted that experience to be as good as possible, subject to the constraint of viewers actually having to listen to my voice.
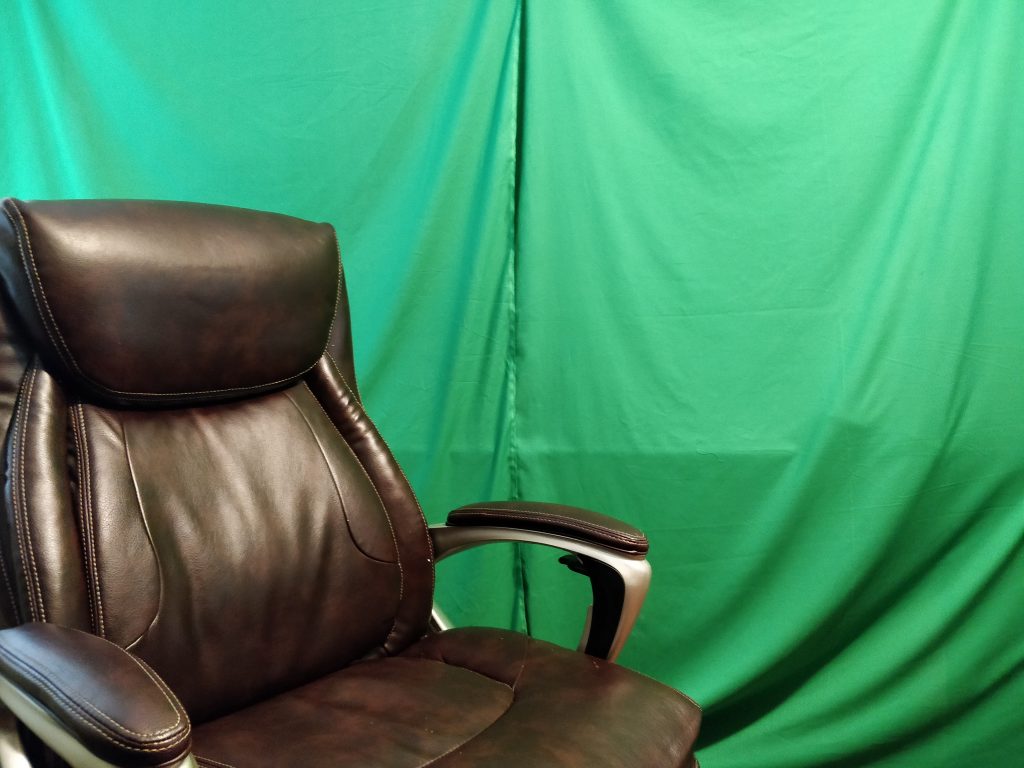
A week or so later, I found a great deal on a streaming camera that was half off. Less than $50 for a new cam with a much higher frame rate and better color was an easy decision. Cheap streaming tech is a win win in my book! I grabbed a green-ish towel and tried my hand at applying a chroma key filter to the new camera and against all odds, it almost worked. The next morning we went to the store and bought a couple of yards of green cloth for $12, which we tacked to the ceiling for our first green-screen stream. It worked better than you’d think: the room disappeared from my streams, replaced by a head and chest view of me against the background.
The next weekend, it was off to the hardware store for some PVC ($13) so I could make a frame for the fabric. 20 minutes and a few unused clamps later, it worked perfectly. $25 for a totally custom green screen is a win in my book! I moved around the lights in the room and changed some of the old CFL bulbs to brighter LEDs (we’d always planned on this, but we were waiting for bulbs to die), which really helped the camera work well. The colors were better and the screen had no problems. I’m pleased as punch with it now.
We streamed for a couple of weeks that way as I worked to become more comfortable on camera. I won’t go too much into that, because that’s for another post, but I feel I’m making progress.
As spring came, the temperatures began to rise. The big limitation of my headset returned. Sweat. Gallons of sweat poured into my ears from five minutes into the stream until I took the headset off. But the headset was “free,” since I’d had it for years, and it was doing a good job. When summer finally arrived, I’d just deal with it- that was one piece of streaming tech I was happy enough with as-is.
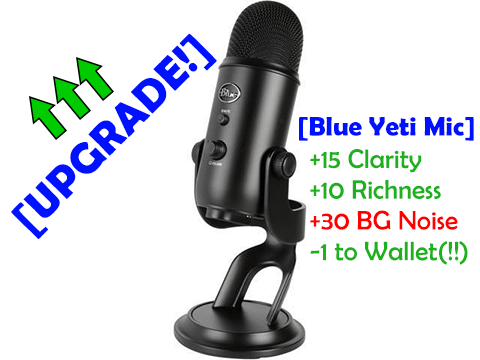
The world had other plans. I saw a post on Reddit (/r/buildapcsales is an outstanding place to find deals on tech equipment) about how you should check your local Walmart to see if they have Blue Yeti Blackout Edition microphones. They’re great microphones that offer a robust feature set and are more than up to the task of producing high quality audio for a “real” stream, podcast, YouTube channel, etc. They’re normally $110-120, which is why I hadn’t bought one. My mic was good enough and the price was more than I wanted to spend for a part time hobby, especially with a double bill from Oculus coming.
Walmart seemed to be liquidating stock and was selling them for $54. That changed the calculus. We got in the car and picked one up post haste. An afternoon of setup later and I had it working well enough for a stream. It went beautifully; everyone said it sounded spades better and the fact that I wasn’t wearing sweat generators on my ears helped my comfort level. The mic is the first piece of “pro” gear we’ve gotten, and it’s probably going to be one of the most important.
Next up, it was time to get proper headphones to work with the mic. My WoW cans still work and would have been fine, but the Yeti mic has a built in headphone jack that has mic pass through. It’s a damn nice feature and I wanted to take advantage of it. A couple of days of browsing and I picked out a new pair and got them ordered. They arrived today and will be in service for tomorrow’s stream! The rest of the microphone setup (a mic boom stand, shock mount, and pop filter) will all be here in time for Friday’s stream. With all of that, I should be able to get the audio quality as good as it’s going to get without moving to a different room, which isn’t happening any time soon. Even with an open window and a fan blowing nearby, the sound quality is good enough for streaming. With the window closed and the fan off, I should be able to record quality audio once I master the settings.
Over the last six or so weeks, it’s a lot of small changes that added up to a big difference. I started with basic equipment, made for video chatting or gaming. We’ve moved up into audio equipment good enough to record pro-sounding voice work. I’ve got a fully functional camera with green screen that works in a variety of light settings and can be torn down in 5 minutes. I’ve learned a lot of the ins and outs of the various software elements of streaming. We’ve gone from basic consumer to entry-level streaming tech.
Overall, it’s been one of the more technically demanding things I’ve undertaken, and a lot of it has to be troubleshot and figured out while live. Things that look great while testing in the afternoon suddenly don’t work at night when the sun is down and the light has changed. The mic sounds awesome, until the attic fan kicks on and deafens everyone. The green screen is stable and awesome, until Oscar decides it looks like the Matterhorn and goes for a climb.
Best of all, because it’s a hobby, I’ve yet to get sick of it. I’ve learned just enough to know how much farther I have to go, but as far as the technology side of things goes, I think we’re set for a while. I have a setup that’s far more sophisticated than I am and will give me plenty of room to grow into it.
With the streaming tech squared away, I started thinking about the channel itself. My cobbled together backgrounds and such were charmingly amateurish (don’t get me wrong- I’m still very much an amateur!) at best; pure cringe at worst. It was time to begin a redesign from the ground up to begin to unify the channel’s look.
I’ll go into that in the nest post, Stream Upgrades, Part 2: Graphics.