My current baking obsession is sourdough. Truthfully, I’ve been obsessed with sourdough since I read about it and tried it as a kid. As a young adult, I used to make it all the time, but my beloved starter is long gone and I never got around to making another. Last week, I decided to see if I could get one going again, and I thought it might be a worthwhile write up. Here we go: this is the Sourdough Saga, 2020.
What is Sourdough Starter?
A sourdough starter is just a sour batter or mash that’s full of live yeast. The yeast is naturally cultured from the air and the wheat your flour is ground from. You use it in place of yeast to leaven breads, as well as to add a unique sourdough flavor to baked items.
Sourdough’s been around since before recorded history, but it gained a lot of new following during the United States frontier rush in the 19th century. As families extended westward, they moved faster than supplies of baking yeast could follow. Frontier bakers routinely made sourdough starters and kept them alive for years, baking breads and rolls without needing to add yeast separately. San Francisco’s famous sourdough heritage comes from this period. In contemporary times, the bakers have come to appreciate the acidic, more complicated flavors of a sourdough loaf as an alternative to “plain” white bread.
At the most basic level, a sourdough starter is made using flour and water. Once you start the process, the yeast and other microbes from the flour and the air begin fermenting and a war between the various bacteria kicks off. By regularly feeding your starter, you encourage the yeast to grow more than the others. This leads to a production of acids and alcohol by the yeast that naturally drives off the competition. In a week or so, you have a wonderfully pungent, yeasty sourdough starter. A healthy, strong sourdough starter is a damn hard thing to kill and will easily satisfy even the most voracious baker’s needs. That’s the theory, so I dove in.
Step 1: Make your sourdough starter
To begin, you will need:
- 2 cups of all purpose flour, unbleached. White, wheat, rye – that doesn’t matter. But use unbleached if you can.*
- 1 1/3 to 1 1/2 cups of water. Use distilled or reverse osmosis water if your tap water is highly chlorinated.
- That’s it. You CAN “cheat” by introducing a little yeast in your mix to kick start it, but if you want to do it the “right” way, just use flour and water. That’s what I did, but I don’t judge anyone for kick starting.
*Side note, if you don’t have unbleached flour, you CAN use bleached. The internet will call you bad words if you admit to doing it, but you can. Bleaching kills the bacteria on the grains before they’re milled, but they still pick up some, and the air still has yeast in it. We actually didn’t have any unbleached flour, so I used bleached all purpose for my starter and it worked out beautifully.
Mix your flour and water together. It should move like a thick batter, but it should not be doughy. If you have highly chlorinated water, let it stand overnight before using it. Alternatively, use distilled or reverse osmosis purified water. We have heavily chlorinated water that tastes like a toilet rim, so I used reverse osmosis water.
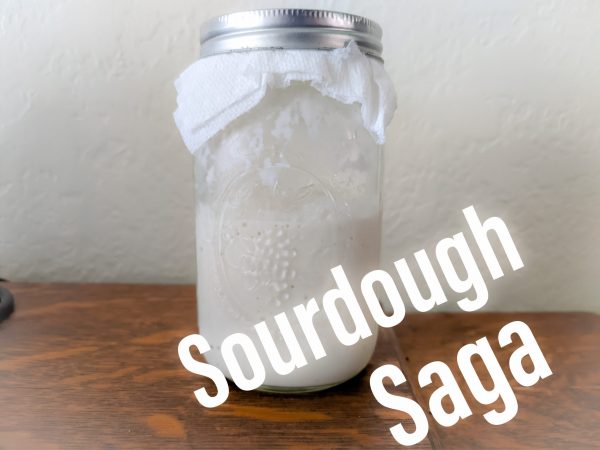
Put the starter in a medium sized glass jar or container. I used a 1-quart bell jar that I sterilized with boiling water. Cover it with a breathable lid. Use a jar lid with holes in it; a cheese cloth or paper towel secured with string or a rubber band also works well. Don’t get hung up finding the perfect cover. They’re microbes. Set the starter some place where it can be warm without being hot. 75-85 degrees is ideal. It’s summer in Oklahoma, so I set it on the counter next to the fridge, which kept it at a consistent 78-80 degrees.
Step 2: Wait, and feed it daily
Now you wait. Every once in a while, say, 1 or 2 times a day, give your starter a stir to mix in new oxygen. Yeast loves oxygen.

24 hours after you made the starter, it’s time to feed it. You might start to see some bubbles at this point, but it probably still smells like wet flour. Pour it out into a container and weigh what you have, then give it a good mix and throw half of it away. You can just go by volume if you prefer; it doesn’t have to be exact.
Mix 1 cup of flour and 2/3 to 3/4 cup of water into what’s left, then pour it into a clean jar. I used 2 jars and swapped them every day, but you can easily just wash and re-use a single one. Set it back in its warm spot.
That’s it. That’s what “feeding” your starter means. Once it’s established, the excess is what you’ll use to bake, or to give to friends so they can have their own starter.
Continue this every day.
Step 3: Monitor the Yeast Wars
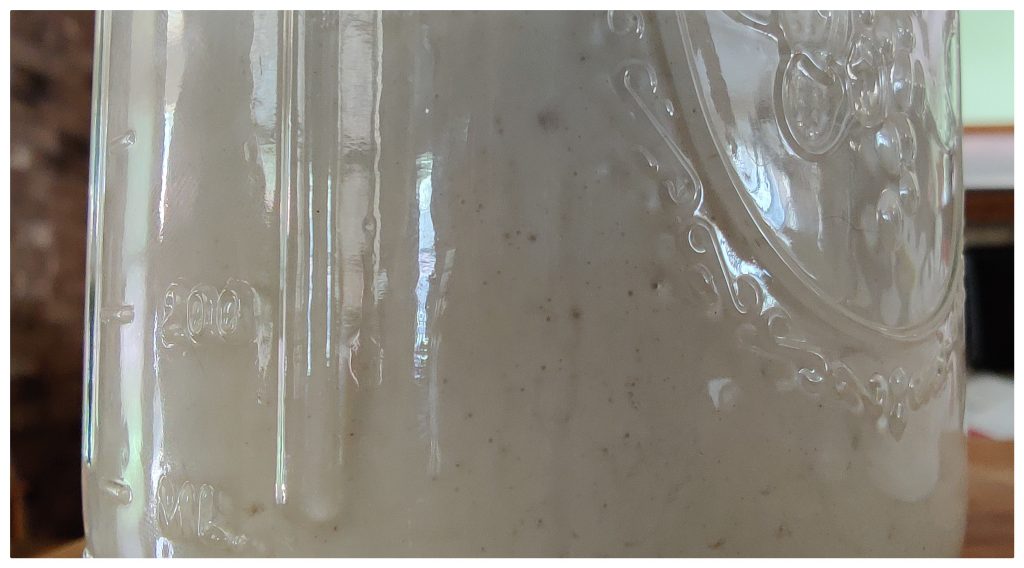
On Day 3, my starter had gone nuclear, doubling in size and turning into a slightly sour-smelling, foamy mash. This was the war of the bacteria coming to an end as the yeast killed off its competition. It’s tempting to celebrate, but you’re not done. Keep going with your feeding routine.
If yours doesn’t go nuclear on Day 3, it’s okay. If it never goes nuclear, it’s okay. Keep going. Throw out half, feed it, and keep it warm. It will respond; sometimes it just takes more time. Don’t get discouraged. Sourdough is all about patience, and the starter is no exception. The consistency of the starter dramatically affects whether it “grows” or not. A thicker starter will trap bubbles of carbon dioxide and fluff up, whereas a runnier starter will let them escape. They both make great starters, but one looks “dead” and one looks very alive.
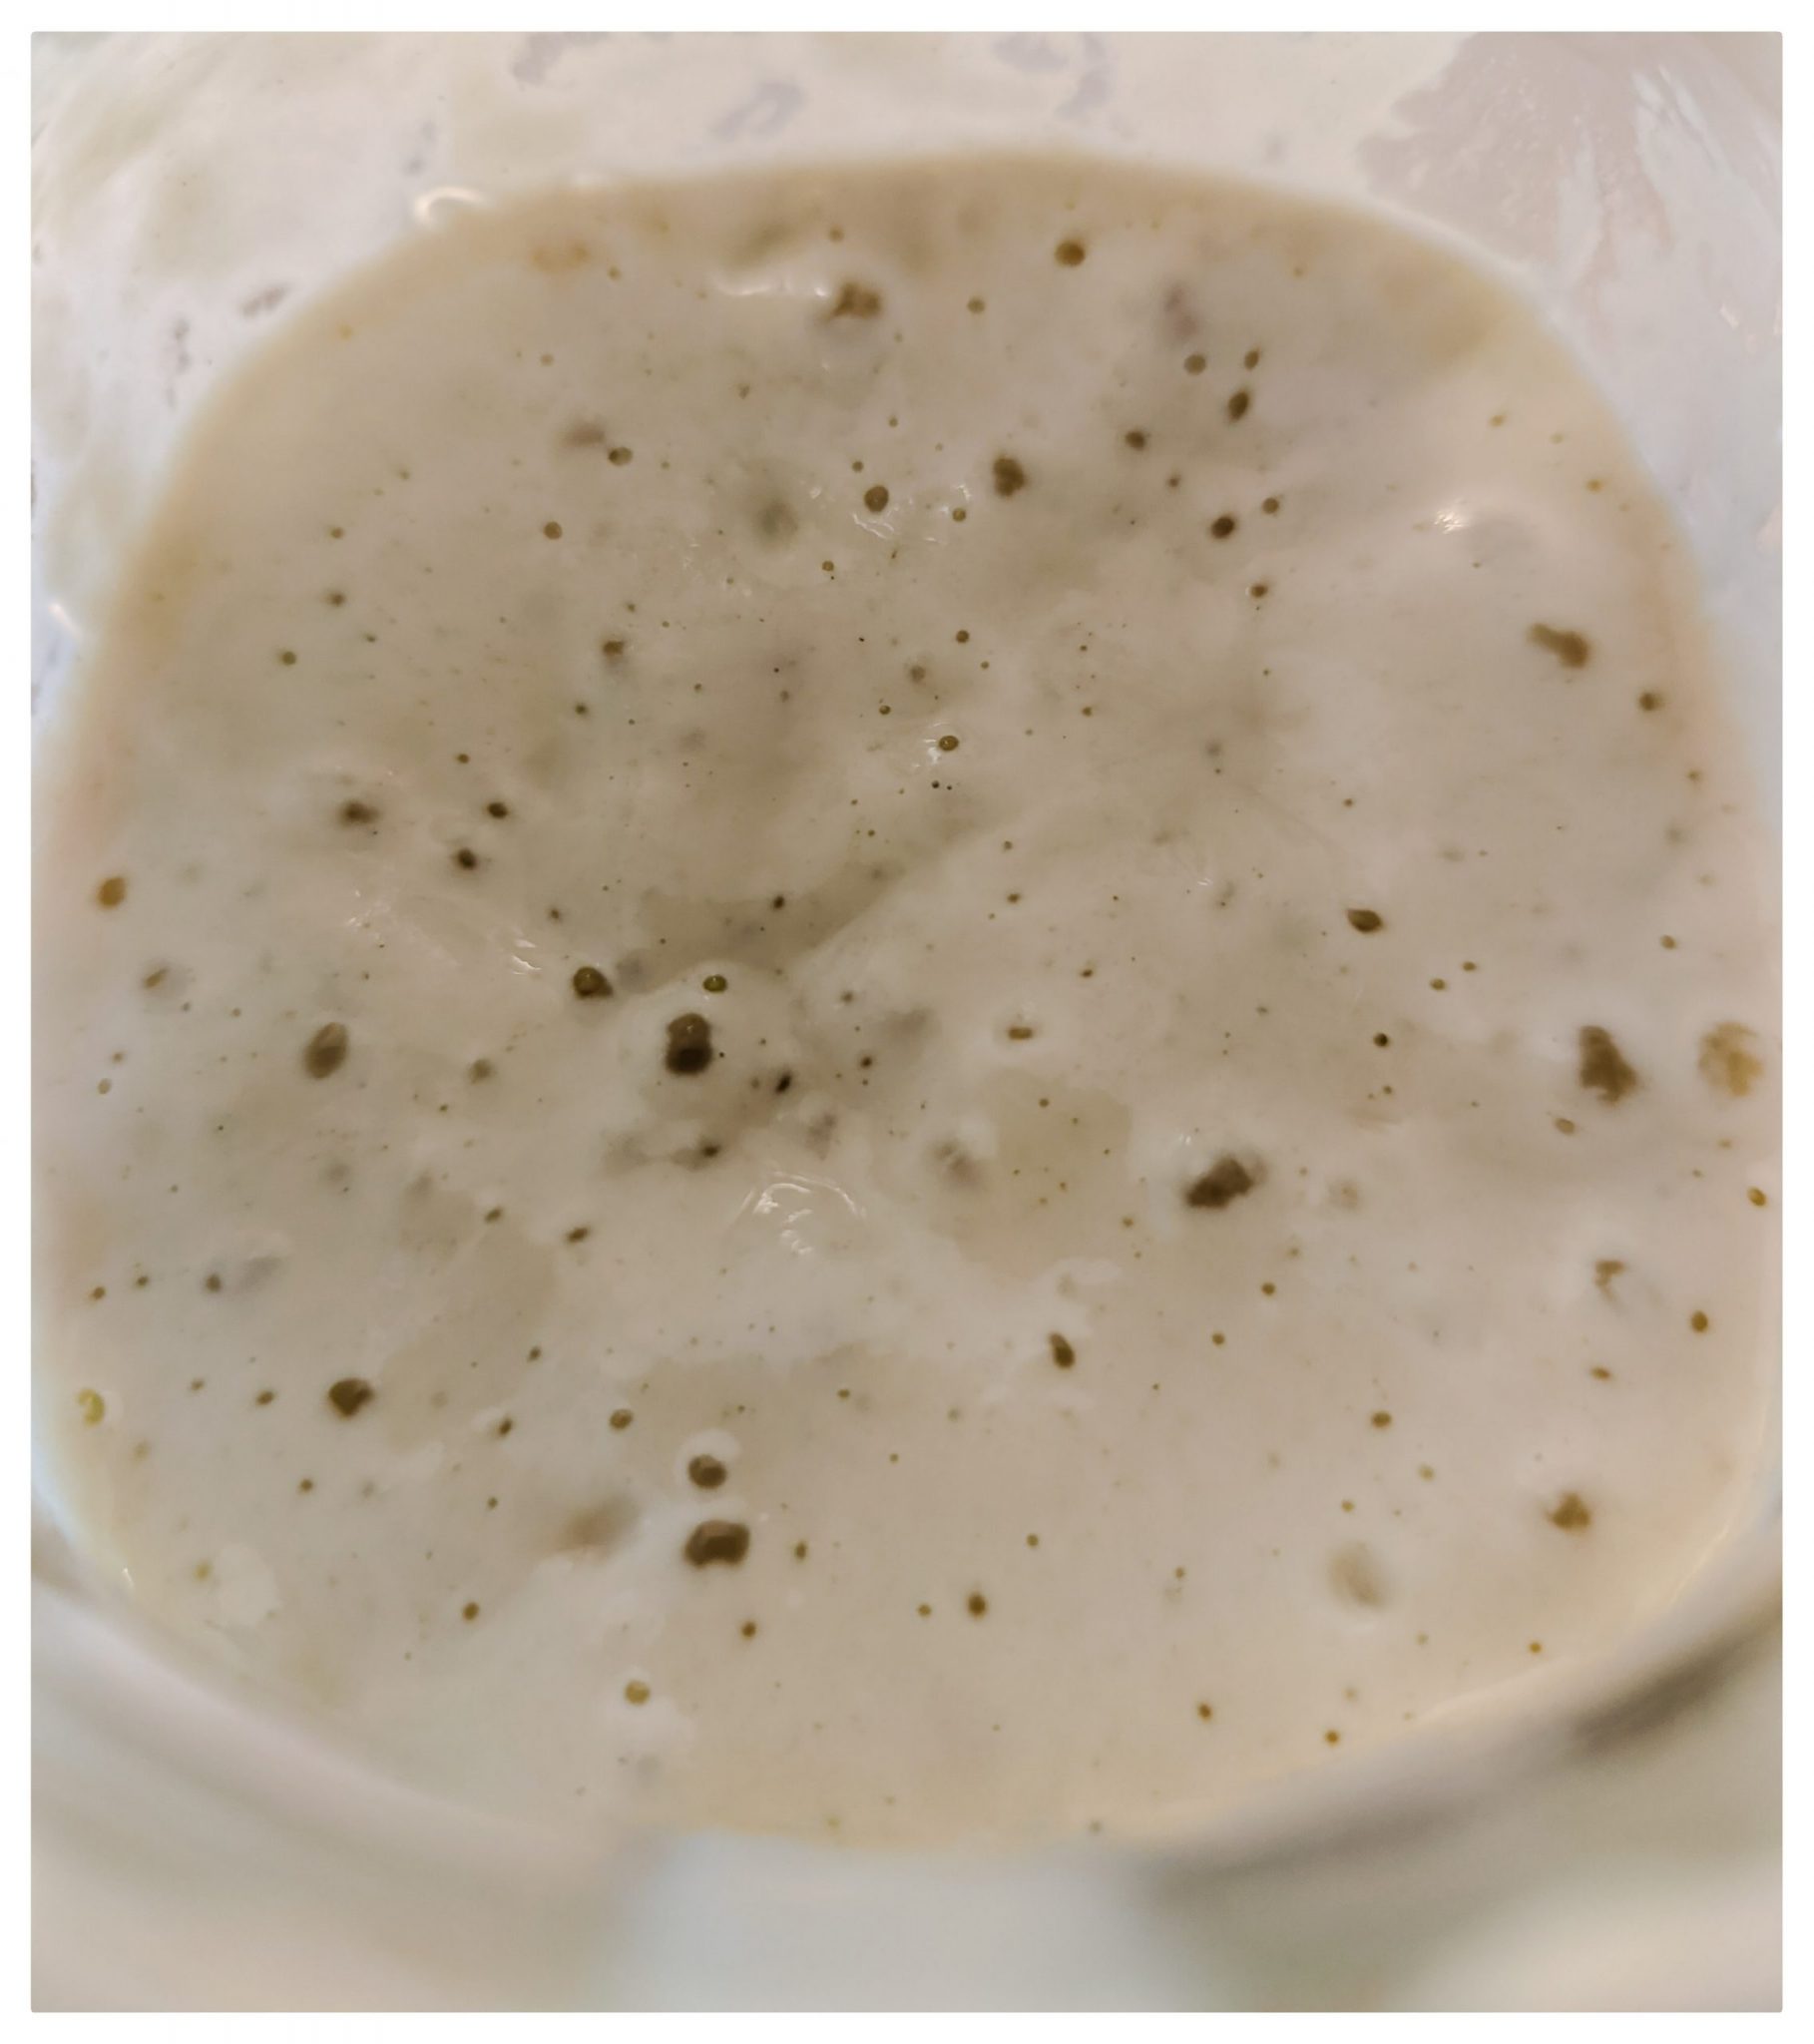
By Day 5 (Friday), my starter was predictably rising and falling each time I fed it and had developed a strong sour/alcohol/yeast smell. It actually overflowed the jar at one point, as I’d let it get a bit thick and all the bubbles of carbon dioxide got trapped. It smelled like sourdough. Again, don’t get discouraged if yours doesn’t go this quickly. It can take a up to a couple of weeks for a starter to get firmly established.
Use your own judgement, and remember; this is an ancient, well-proven technique. It’s pretty fool proof and you don’t need to overthink it. Just keep feeding your starter, keep it warm, and stir it a couple of times a day.
Once your starter has that sourdough smell, it’s ready to use. Generally, you’ll take out what you need for baking, then feed it back to normal volume and store it. Try to keep your “normal volume” such that when you bake, you only use half of your starter. For example, if your bread recipe needs 1 cup of starter, keep 2 cups on hand so you can use half and re-feed it. Make sure you always leave room in your container for it to grow, because it will. I try to keep my jar no more than half full.
Step 4: Store your sourdough starter
There are two main ways of storing your starter: you can store it at room temperature, or you can store it in the fridge. Either way, you have to remember that your starter is a tiny zoo of bacteria, and you’re going to need to feed and care for them to keep them at their best.
Room-temperature storing is exactly what it sounds like. Leave the jar out someplace convenient, out of direct sun. Feed it every day, using or throwing out the excess starter. This is great if you’re going to be using it fairly often, but if you aren’t, you’re going to throw away a lot of excess starter.
Fridge storing is what most of us do. Refrigerating your starter doesn’t change anything except the time scale. You still need to feed it and use/discard the excess, but instead of daily, you can now do it weekly. If you’re going to use your starter, pull it out of the fridge to warm up for a few hours (or even the night before you need it), then use it, feed it, and tuck it away. Rinse and repeat as often as you want. I kept my first starter for almost a decade this way.
Step 5: Let’s bake!
A lot of sourdough gurus say you can’t possibly use a new sourdough starter for bread until it’s a week, two weeks, a month, or a year old. If you ask, they’ll tell you it has to be older than however old yours is. I am quite sure I could ask if great-great-great-grandma’s 1849 California Gold rush starter was ready for bread and some crusty doofus on a forum would say they’d give it another week or two. I think they’re daft, and I decided to use mine on Day 5. We already had bread, so I decided we’d use it on something I’d never made before: Sourdough Crackers!
I’ll cover the recipe for the crackers, how I made them, and what ultimately happened in the next Sourdough Saga post.